
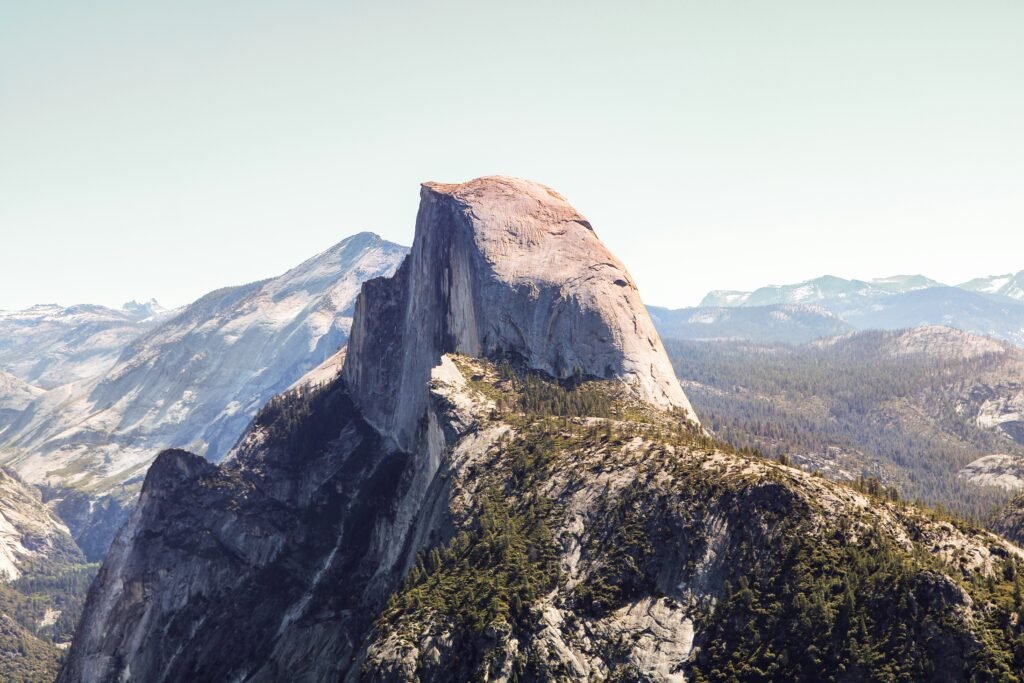
Imagine standing atop the iconic Half Dome in Yosemite, taking in breathtaking panoramic views that few ever experience. This ultimate guide for hiking Half Dome in Yosemite is your ticket to conquering one of the world’s most legendary hikes.
From obtaining permits and packing essentials to navigating the infamous cable route and leaving no trace, this guide covers everything you need for a successful summit.
Table of Contents
Planning Your Hike
Hiking Half Dome in Yosemite National Park is an incredible adventure, but proper planning is essential to ensure a safe and enjoyable experience. Here’s what you need to know to plan your hike like a pro.
How to Get a Half Dome Permit
Hiking Half Dome requires a lot of planning far in advance. You need to have a permit to hike Half Dome, which requires winning a lottery.
The Half Dome cables, which assist hikers on the final ascent, are only open from late May to early October, weather permitting. During this period, a permit is required to hike the cables, and the number of permits is limited. There is a ranger present at the base of Subdome, the section before Half Dome, and they will check permits and want to see your driver’s license or other photo identification.
You can apply for permits through a preseason lottery system where 225 permits are awarded daily, or try your luck with the daily lottery during your visit.
The preseason lottery opens in March and winners are selected and notified mid April. The daily lottery is conducted two days in advance at the park’s wilderness centers.
A final option is to secure an overnight wilderness backpacking permit. This is discussed more later in this article.
The Best Time to Hike Half Dome
The optimal time to hike Half Dome is during the late spring, summer, and early fall months when the cables are up. However, keep in mind that Yosemite can experience extreme temperature variations, even during the summer.
What to Pack and Gear Recommendations
Proper gear is essential for a safe and comfortable hike on Half Dome. Here’s what you’ll need:
- Sturdy hiking boots with good traction and ankle support
- Trekking poles (highly recommended for the steep ascent and descent)
- A daypack with enough room for water, snacks, and extra layers
- Sun protection (hat, sunglasses, and sunscreen)
- Plenty of water and high-energy snacks (I can’t stress this enough. Bring more water and snacks than you think is necessary. There is no potable water on the trail past the Vernal Falls footbridge)
- Layers of breathable, moisture-wicking clothing
- Gloves (for gripping the cables)
- Headlamp or flashlight (in case you’re caught out after dark)
- First-aid kit and emergency supplies
- Navigation tools (map and compass or GPS)
Remember, the weather in Yosemite can change rapidly, so pack accordingly and be prepared for various conditions. Additionally, consider your fitness level and hiking experience when planning your gear and supplies.
Getting to the Trailhead
Yosemite National Park is located in California’s Sierra Nevada mountains, about 3-4 hours east of San Francisco or Sacramento. The closest major airports are in Fresno (1.5 hours away) or Sacramento (3.5 hours away). From the San Francisco Bay Area, take I-580 east to I-205 east, then Highway 120 east into the park.
The Half Dome hike begins at the Happy Isles trailhead in Yosemite Valley. To reach the trailhead:
- From Yosemite Village, take the free shuttle or drive east on Northside Drive for about 2 miles.
- Turn right onto Happy Isles Loop Road and follow signs for the Happy Isles Nature Center and trailhead parking.
Parking at the Happy Isles trailhead is extremely limited, especially in peak season. The lot fills up very early, often before sunrise for Half Dome hikers. Your best options are:
- Park at Curry Village and take the free shuttle to the Happy Isles stop (about a 10-minute ride).
- Park at other lots in Yosemite Valley and take the free shuttle.
- Arrive extremely early (before 5 AM) to try for a parking spot at Happy Isles.
The free Yosemite Valley shuttle runs from around 7 AM to 10 PM, with the first buses arriving at Happy Isles around 7:15 AM. Many hikers start the Half Dome trail well before dawn, so plan accordingly if taking the shuttle.
Which Trail Do You Take to Half Dome?
Mist Trail
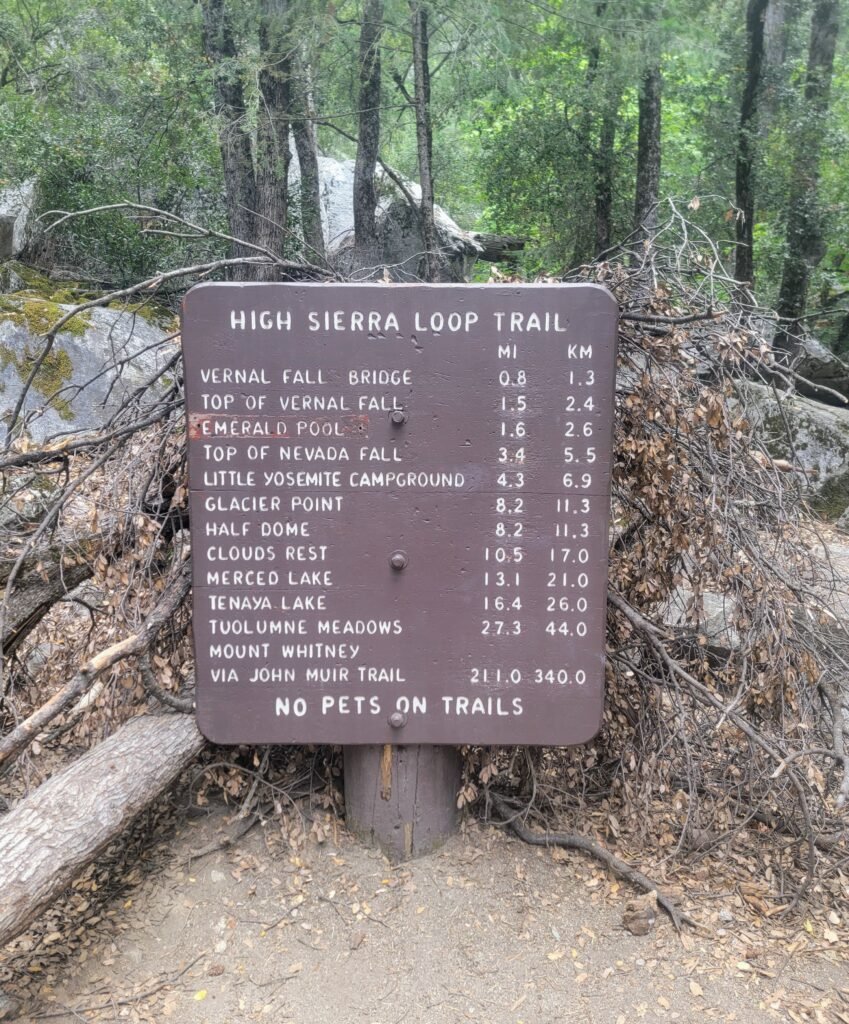
The Half Dome hike is a strenuous 14.2-mile round-trip trek with an elevation gain of 4,800 feet. The trail starts at the Happy Isles trailhead (elevation 4,035 feet) and follows the Mist Trail, a steep and rocky path that climbs alongside two breathtaking waterfalls, Vernal and Nevada Falls.
After the Nevada Falls junction (elevation 5,967 feet), the trail continues its ascent through Little Yosemite Valley. From here, the final push to the Half Dome cables (elevation 8,200 feet) is a grueling 3.5-mile stretch with several switchbacks and steep granite stairs. The final section before reaching the cable is Subdome, which is infamous for a reason. It is a grueling stretch of switchbacks making a drastic climb up the granite.
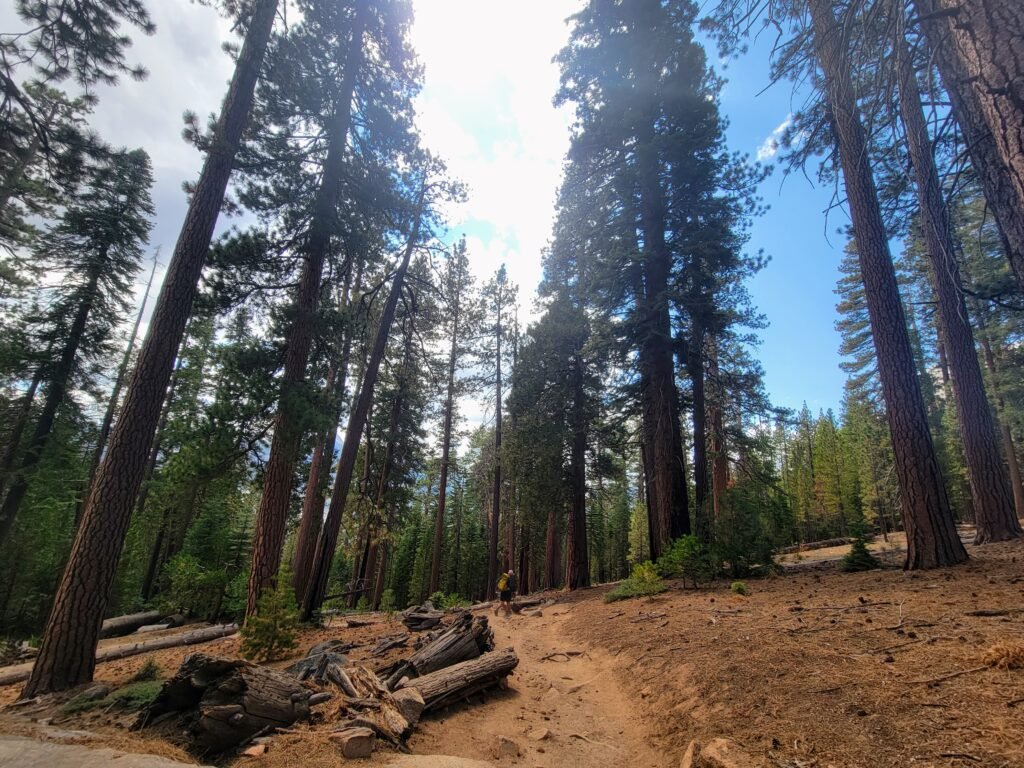
John Muir Trail
An alternative route is the John Muir Trail, which bypasses the Mist Trail and Nevada Falls but adds distance and elevation gain. This route is less crowded but more challenging, with a total distance of 16.5 miles and an elevation gain of 5,300 feet.
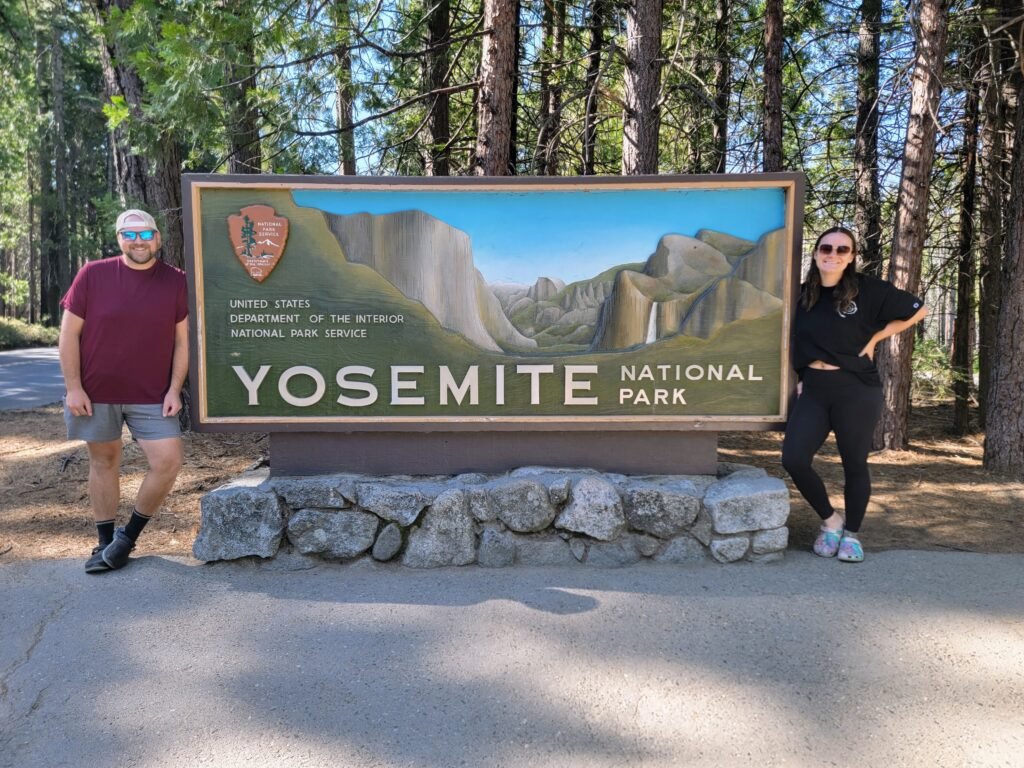
We opted to take the John Muir Trail when my husband and I summited Half Dome in September 2023. We were advised that the mist trail was quite slippery so we decided to take the safer route. You still see Vernal Falls on this route, but don’t get the up-close view of Nevada Falls you get on the Mist Trail. The John Muir Trail offers plenty of its own beauty, though!

Like this article? Pin it!
How Long Does it Take to Hike Half Dome?

The Half Dome hike is considered one of the most challenging day hikes in Yosemite National Park, with a difficulty rating of strenuous to extreme. The combination of distance, elevation gain, and the exposed cable section make it a physically and mentally demanding trek.
For most hikers, the Half Dome hike takes 10-12 hours to complete as a day hike, with the ascent taking 6-8 hours and the descent taking 4-6 hours. Experienced and fit hikers may complete it in 8-10 hours, while less experienced hikers or those carrying overnight gear may take 12-14 hours or more.
Half Dome Cables
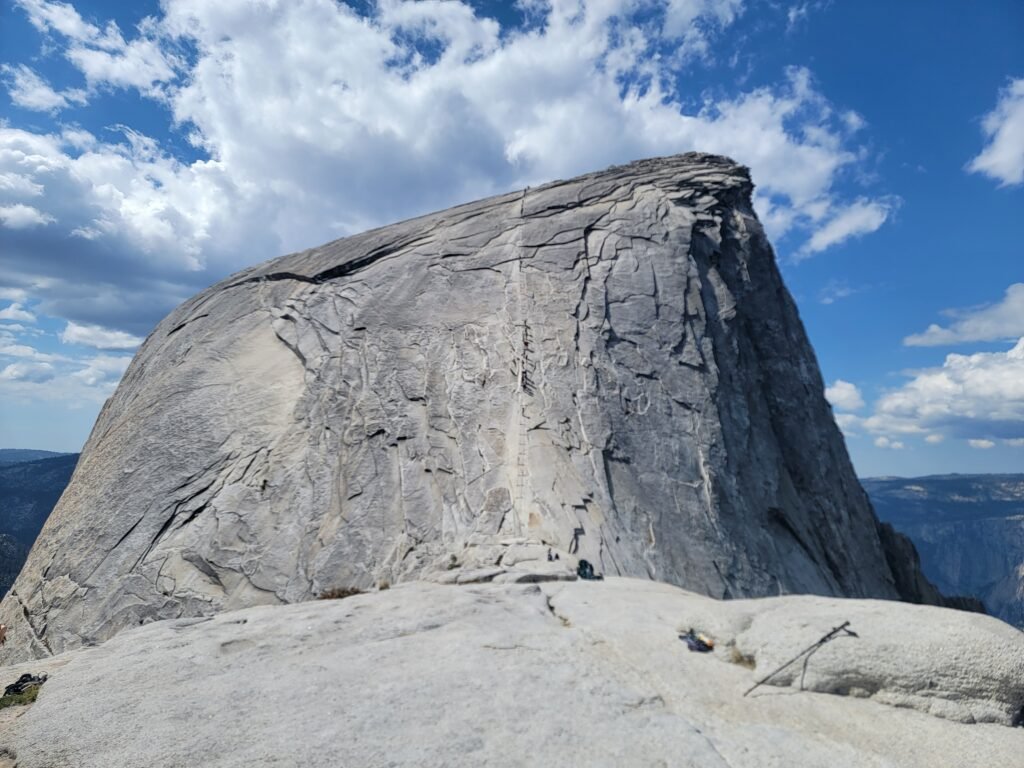
The final push to the summit of Half Dome involves scaling the legendary cable route, a heart-pounding and exposed climb that requires a good head for heights and proper preparation. Here’s what you need to know about conquering the cables:
The Final Cable Ascent
The cable route is the last 400 meters (0.25 miles) to the Half Dome summit, with an incredibly steep pitch of around 45-50 degrees. Two parallel steel cables, anchored into the granite, provide the only support for hikers to grip as they ascend and descend this near-vertical stretch. We did see people clipping onto the cables with a harness, but this isn’t common and can be disruptive to those around you.
People ascending the cables and descending the cables are side by side on the granite. It can be a slow climb depending on how others are doing around you. Be patient and considerate.
Be sure to bring both your Half Dome permit as well as a photo ID with you on the hike. We weren’t informed a photo ID would be checked by the ranger at sub dome, and luckily the ranger decided to let us through without it.
Safety Precautions and Tips
Hiking the Half Dome cables is not for the faint of heart, and proper safety precautions are essential:
- Wear sturdy hiking boots with good traction and ankle support.
- Use gloves to protect your hands and improve your grip on the cables.
- Take your time, and don’t rush or let others pressure you into moving faster than you’re comfortable with.
- Stay focused and watch your footing, as the granite can be slippery, especially when wet.
- Descend facing the cables, using a backward shuffle or crab-walk technique.
- Be prepared to turn around if conditions become too dangerous or if you feel uncomfortable.
Acclimating to Elevation
An important thing to keep in mind when hiking Half Dome is properly acclimating to the high elevation. Yosemite Valley sits at around 4,000 feet above sea level, and the summit of Half Dome reaches over 8,800 feet. This significant change in altitude can lead to altitude sickness symptoms like headaches, nausea, and shortness of breath if you don’t give your body time to adjust.
We were on a time crunch and began our hike the day after flying in from the Midwest and had no issues with the elevation. However, if time allows, consider taking some time to acclimate to the elevation, especially if you have experienced altitude sickness in the past.
Weather Considerations
Weather can play a significant role in the safety and accessibility of the Half Dome cables. Here are some important weather considerations:
- Rain or moisture can make the granite surfaces and cables extremely slippery and dangerous.
- High winds can also increase the risk of falls or being blown off the cables.
- Thunderstorms pose a serious lightning risk on the exposed cable route.
- Snow or ice on the cables or surrounding areas can make the ascent nearly impossible.
Park rangers closely monitor weather conditions and may temporarily close the cables if conditions become too hazardous. It’s essential to check the latest weather forecast and heed all warnings and closures for your safety.
Conquering the Half Dome cables is a thrilling and unforgettable experience, but it should never be taken lightly. Proper preparation, safety precautions, and respect for the mountain’s unpredictable conditions are crucial for a successful and safe summit.
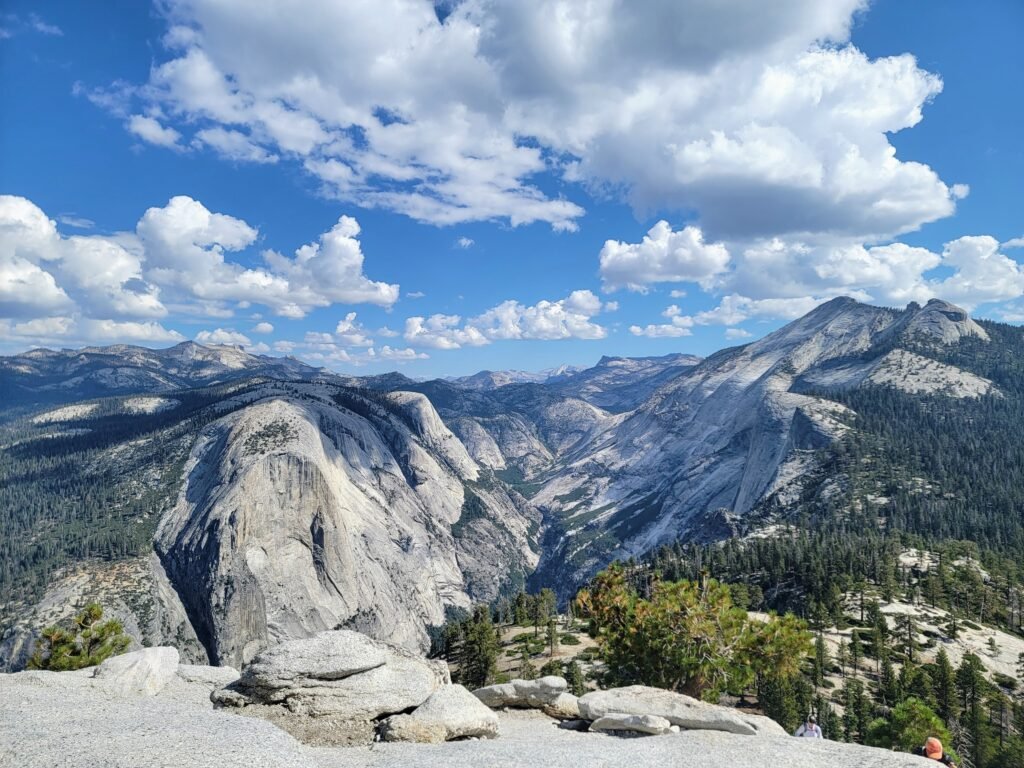
The Summit – You Did It!
From the summit at 8,836 feet, you’ll be treated to incredible panoramic vistas of Yosemite Valley, the High Sierra, and the surrounding granite domes and peaks. You will get a rare perspective of the winding Merced River, towering El Capitan, and the iconic Yosemite Falls.
Despite the narrow and exposed approach, the summit of Half Dome is surprisingly spacious, with a relatively flat area roughly 25 feet by 100 feet. This provides ample room for hikers to spread out, rest, and take in the breathtaking scenery from multiple vantage points.
As you gaze out over the vast wilderness, you’ll feel a sense of accomplishment and pride for having conquered one of the most challenging and iconic hikes in the United States. The views from the summit are truly unparalleled, making every step of the arduous journey worth it.
How to Backpack Half Dome
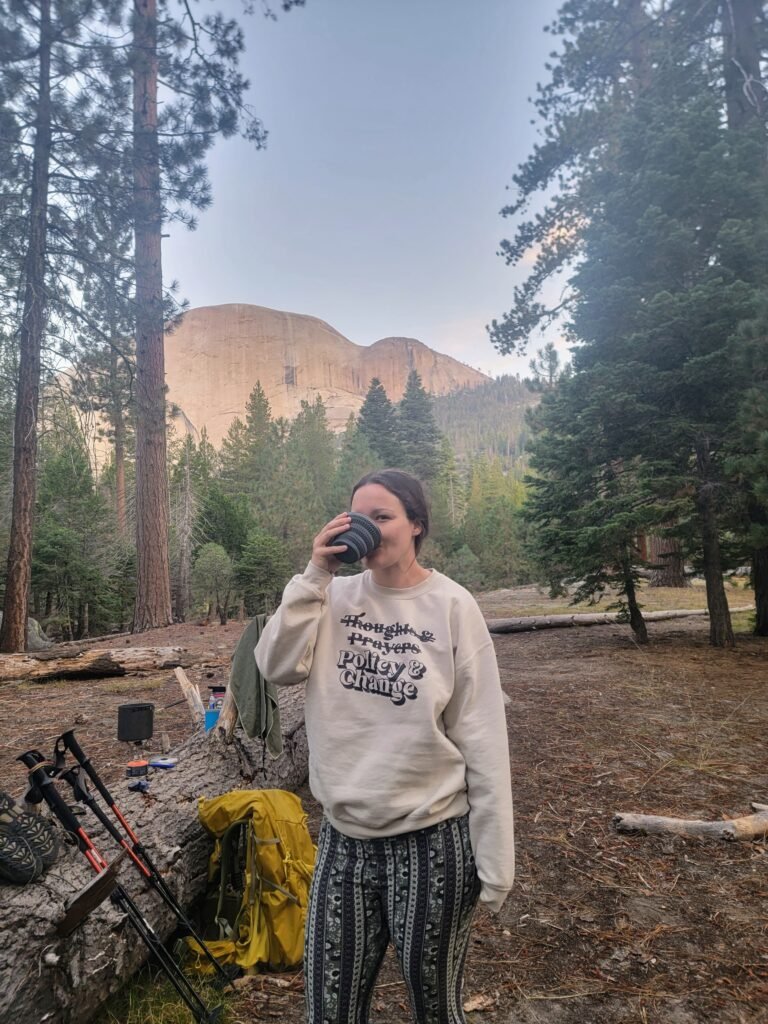
Little Yosemite Valley Campground
Situated approximately 4.8 miles from the Half Dome trailhead, Little Yosemite Valley Campground provides a convenient base camp for tackling the summit. This designated campground is nestled in a forested area near the Merced River, offering a serene setting for overnight stays. This segment of the Merced River is calm and fantastic for a dip to cool down on a hot day.
The campground features shared bear boxes for food storage, communal campfire circles, and a composting toilet nearby. While there are no defined individual campsites, the area provides ample space to set up tents among the natural demarcations created by fallen logs.
Camping at Little Yosemite Valley allows hikers to split the strenuous Half Dome trek into two days, providing an opportunity to acclimate to the elevation gain and enjoy a more leisurely pace.
Backpacking Permit Requirements
To camp at Little Yosemite Valley Campground, a wilderness permit is required. The park operates on a quota system, limiting the number of overnight backpackers admitted to the area each day.
Permits can be obtained through a reservation system or on a first-come, first-served basis:
- 60% of permits are available through an advanced lottery system, which opens 24 weeks before the desired hiking date.
- The remaining 40% of permits are released as “walk-up” permits seven days in advance at 7:00 AM PDT on Recreation.gov.
Competition for permits can be fierce, especially during peak season, so it’s crucial to plan and apply well in advance.
When obtaining your wilderness permit, be sure to request the Half Dome permit add-on for an additional $10 per person, allowing you to legally ascend the cables during your stay. This option provides an alternative route to obtaining a Half Dome permit if you were unsuccessful for the day hike permit lottery. This is the option we did and we were able to secure permits our first year of applying.
Camping at Little Yosemite Valley Campground offers a unique opportunity to fully immerse yourself in the Half Dome experience, surrounded by the stunning natural beauty of Yosemite National Park. With proper planning and permits, this overnight adventure can be a highlight of your Yosemite visit.
Leave No Trace

As one of America’s most iconic and beloved National Parks, preserving the natural beauty of Yosemite is a responsibility we all share.
The Leave No Trace principles provide an ethical framework to minimize our impact and protect this incredible wilderness for future generations.
The Seven Leave No Trace Principles:
- Plan Ahead and Prepare: Proper trip planning and preparation help minimize impacts from the start. Research regulations, permits, and pack appropriate gear for your activities.
- Travel and Camp on Durable Surfaces: Stay on designated trails and camp in established campsites to prevent vegetation damage and soil erosion.
- Dispose of Waste Properly: Pack out all trash, leftover food, and human waste. Use designated bathroom facilities when available.
- Leave What You Find: Respect natural and cultural resources by leaving rocks, plants, fossils, and artifacts undisturbed for others to discover.
- Minimize Campfire Impacts: Use portable stoves for cooking, and keep fires small and contained in established fire rings.
- Respect Wildlife: Observe wildlife from a distance, never approach or feed them, and properly store food to avoid attracting bears and other animals.
- Be Considerate of Others: Respect other visitors and allow everyone to experience the solitude of nature by keeping noise levels down and yielding trails.
By following these principles, we can help preserve Yosemite’s beauty for generations to come.
Still Have Questions About Half Dome?

What questions do you still have about hiking Half Dome? Leave a comment below and I will respond as soon as possible to try to help!
Planning a trip to California? Check out these articles to help you complete your trip!
An Incredible Day Trip to Channel Islands National Park With Kids
Incredible Places to Visit in Death Valley National Park
Top 6 Things to Do in Ventura, California When Visiting for the First Time
5 Best National Parks to Visit With Kids
8 Most Beautiful National Parks in the US
Let me plan your California vacation! I will get you the best deal on hotels, get you some hotel perks, and help you plan a tailored itinerary that is perfect for your family. Best of all, this all comes at no cost to you!
For more information about booking travel with me, see my Services page.


[…] Superior, Minnesota’s North Shore is a place where time slows down. Travelers can spend their days hiking to waterfalls, sitting on rocky shorelines, or watching the waves roll in from a cabin window. The […]